
| You are not logged in. (log in or register) | |
|
|
Tutorials :: Prepping Photos for Publication
Prepping Photos for Publication by SkipIf you've spent any time in the digital darkroom, you've probably developed different workflows for the different images uses. You might have one workflow for preparing an image for the web, a different one for regular prints, and maybe a different one for online competitions. This tutorial covers a workflow for preparing an image for submitting to a newspaper. Even though there are hundreds of different workflows to get to the end result, this is a fairly standard approach that will produce a result suitable for printing in almost any publication. This tutorial was written using Photoshop CS4; however, it can be used with almost any version of Photoshop (though the dialogues may be a little different). Also, the basic concepts can be used with any editing tool; the key, though, is having an IPTC editor. First, open a copy of your original. 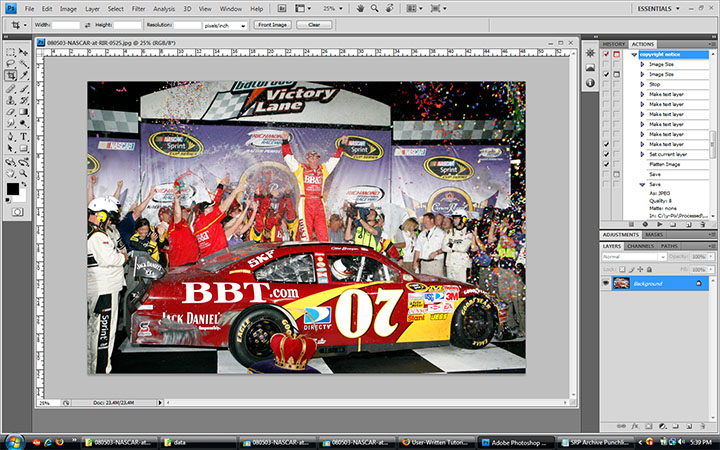
Select the crop tool and clear any presets on the tool bar. 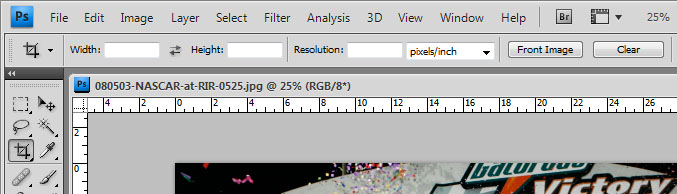
One thing to keep in mind is that publications are not restricted to standard cropping ratios such as 8x12, 8x10, etc. It is up to you to crop your image to best tell the story. 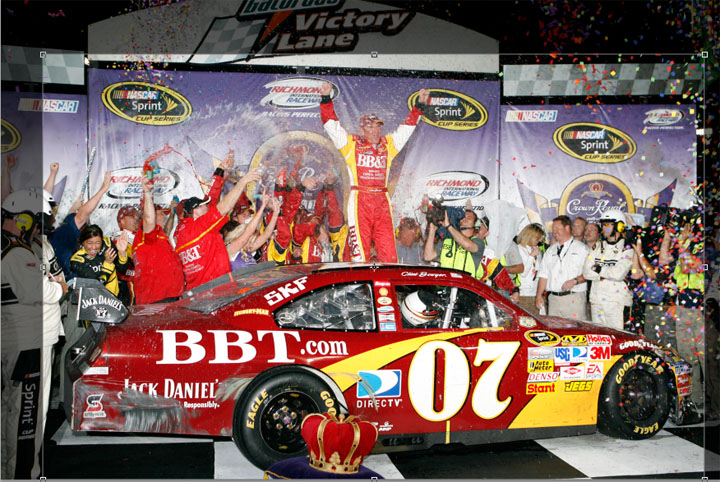
After cropping, set your size. 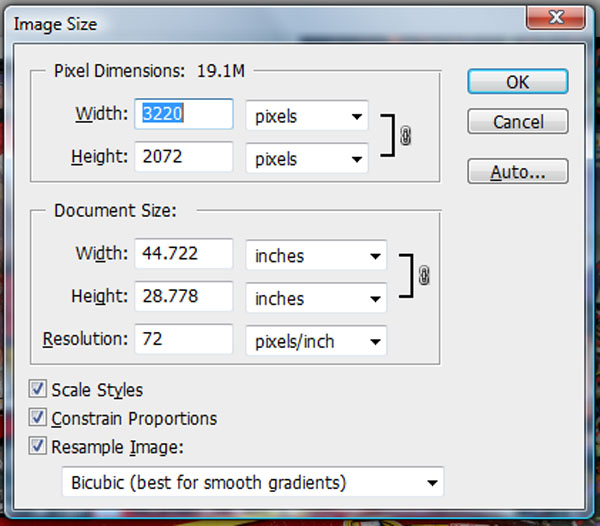
First, set your dpi to 200. Next, set your longest side to either 10" or 12", depending how much you've cropped. If you've cropped tight and set the longest side to 12", you might see some ugly upsizing. 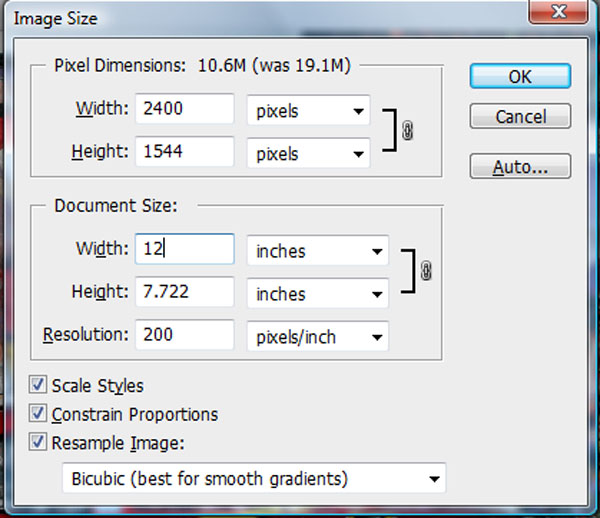
Next, I give the image a small hit of unsharp mask: 300% with a radius of .3 and a threshold of 0. 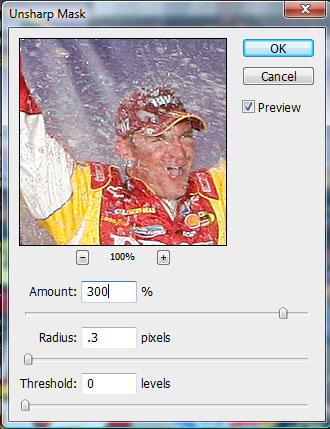
Some editors will save this step for last. I suggest you try it both ways and go with whatever you like best. The main thing is to not overdo it. Once I'm satisfied with the sharpening, I'll make slight adjustments to levels and curves. The main thing I'm looking to do with levels is to make sure I have natural skin tones. To do this, I'll sample the image to find the most realistic natural white point. Double click on the eyedropper in the levels dialogue to open the color picker. 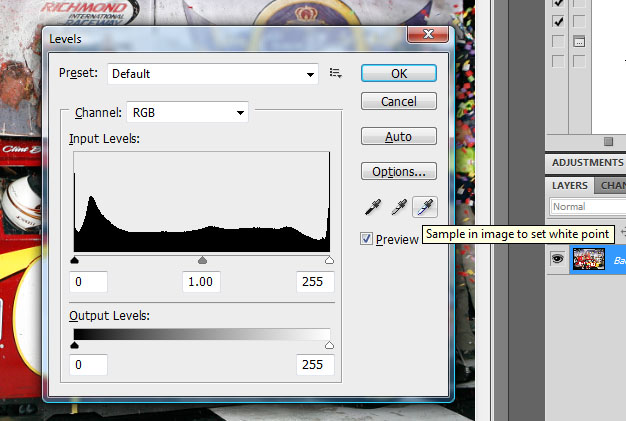
Click around on the image, until you find as true a white point as you can. 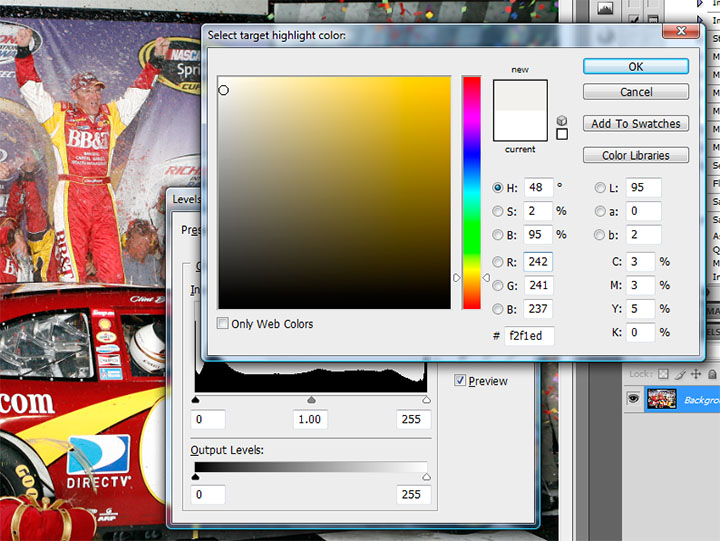
Then, on the right hand side of the dialogue, zero out the a and b values. 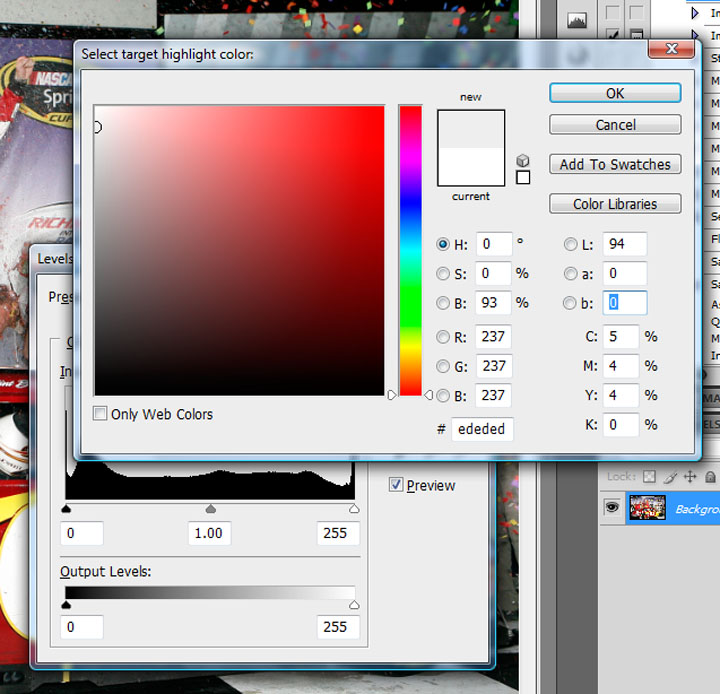
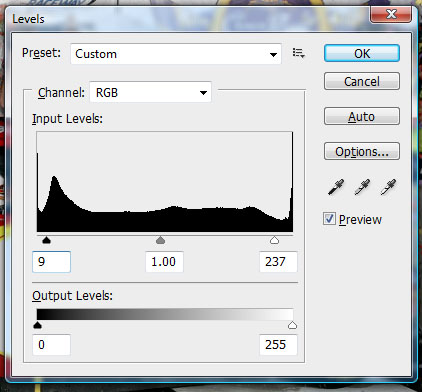
This will give you the adjustment value that you will plug into the levels dialogue. 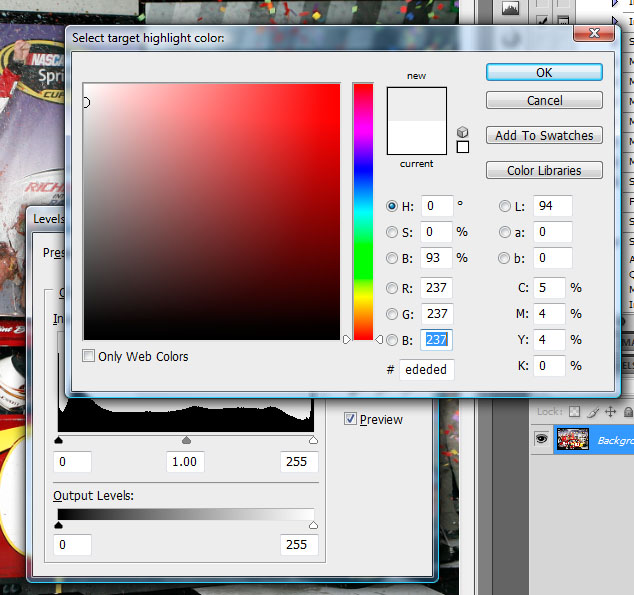
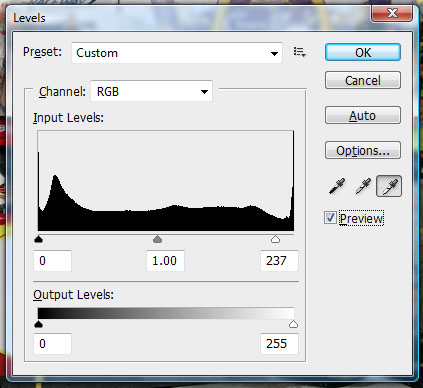
You'll follow the same process to set your black level. Double-click the left most dropper to open the color picker dialogue. 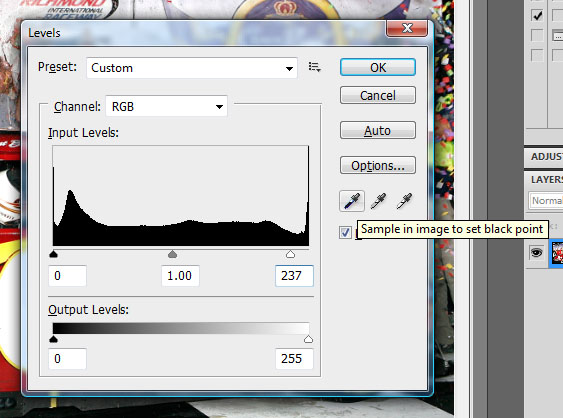
Find a true black point, then zero out the a and b values to get your RGB value to plug into the levels dialogue. 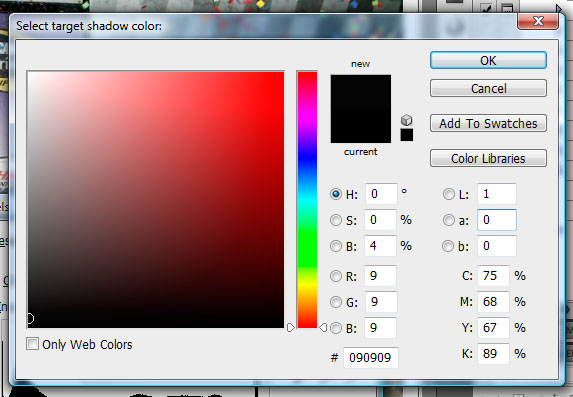
Next you may need to slightly adjust your curves. 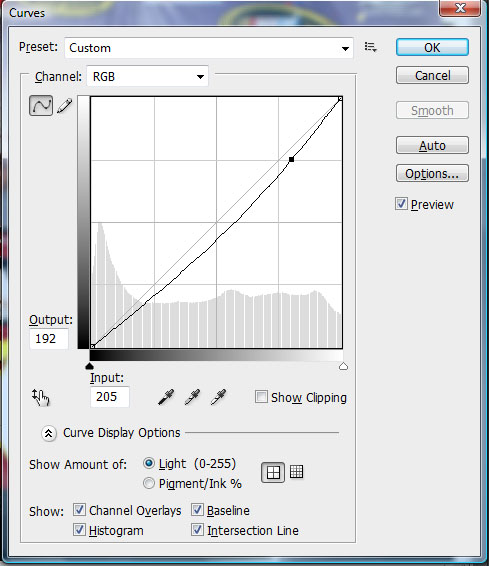
After you've made your image adjustments, you're ready for one of the most important parts of the process: captioning. From the File menu, select File Info to open the dialogue. 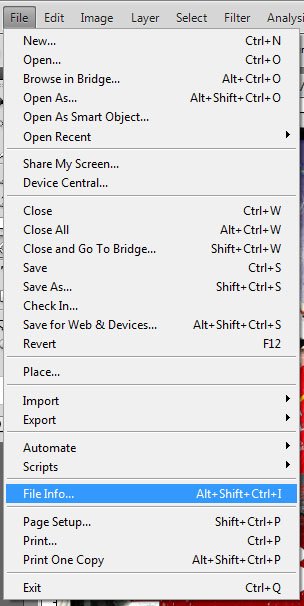
These are the primary fields you will need to fill in. The publication's photo director or the news desk editor may or may not give you explicit instructions or guidelines. 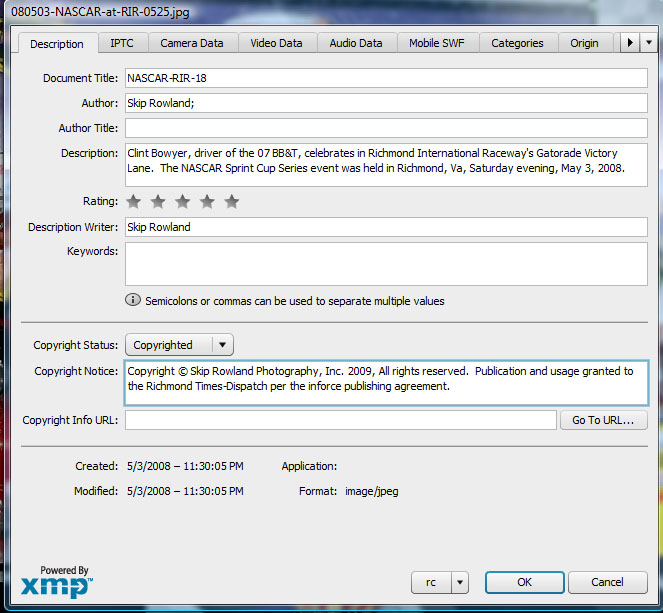
Document Title: This is typically referred to as "slugs" and they are usually provided by the publication. They are usually simple keywords that allow the publication to quickly find images associated with stories. If you are given one, you'll need to make your own--just keep it simple. Author: That would be you. Description: T his is the meat and potatoes of the caption. Be as complete as possible. Include all the who-what-when-where-why details that identify your image. Be sure to include all the names that you can, from left to right. Copyright Status: Unless directed otherwise, set this to "Copyrighted" Copyright Notice: This can be as simple or as complicated as need be. On the Origin tab, fill in the following fields: 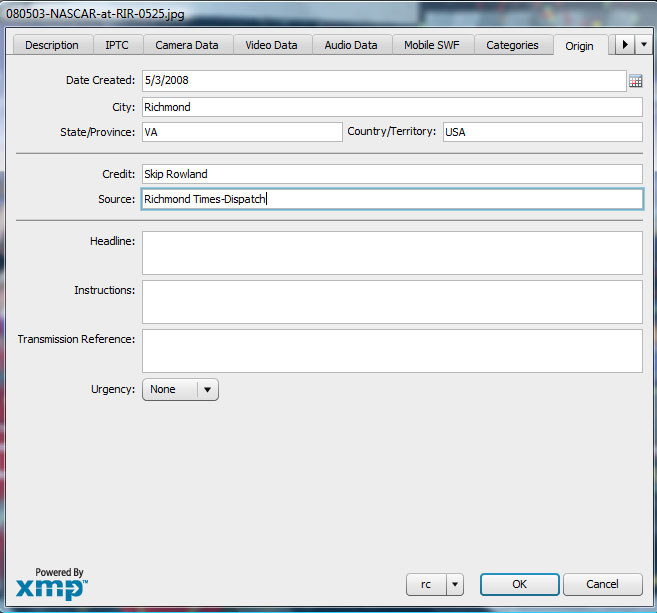
Date Created: This is the date you wrote the caption. City: The local where the image was captured. State: The state where the image was captured. Country: The country where the image was captured. Credit: This would be your name; sometimes it might include the name of the publication or the organization that brought you to the event. Some examples: Joe Click or Joe Click/USA News or Joe Click/ABC University. Source: This is the entity responsible for you taking the photo. It could be you, your company, or the publication you're working for. When you're finished, click the OK button. Now you're ready to save your work. From the File menu, click Save. If you are prompted for a file type, select JPEG. When the JPEG Options dialogue opens, set the quality to 10 and click OK. 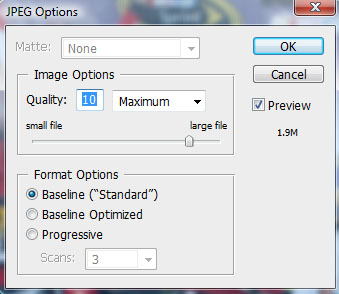
And now you have a file that is ready to transmit to your publication. 
If you have any questions, please let me know. Skip
Home -
Challenges -
Community -
League -
Photos -
Cameras -
Lenses -
Learn -
Help -
Terms of Use -
Privacy -
Top ^
DPChallenge, and website content and design, Copyright © 2001-2025 Challenging Technologies, LLC. All digital photo copyrights belong to the photographers and may not be used without permission. Current Server Time: 04/01/2025 03:35:19 PM EDT. |